Introduction
Once we know how to create a Docker image, if we want to share this image with the team, or use it in different environments, it´s possible to export it to a tar file, or use the Dockerfile to build the image on each of the docker hosts where it will be used. Having to rebuild the image on the pc of each of the components of your team is not very practical. Would not it be better if we could download images ready to use? To resolve this problem Docker has a solution called registry, which can raise and download our images.
One of the great advantages is to be able to test different versions of a product only changing the version of the image to download.
We can install a private registry or use the public registry available in Docker. This registry can be used by any user, and has a search function to see if another user has added the image we want.
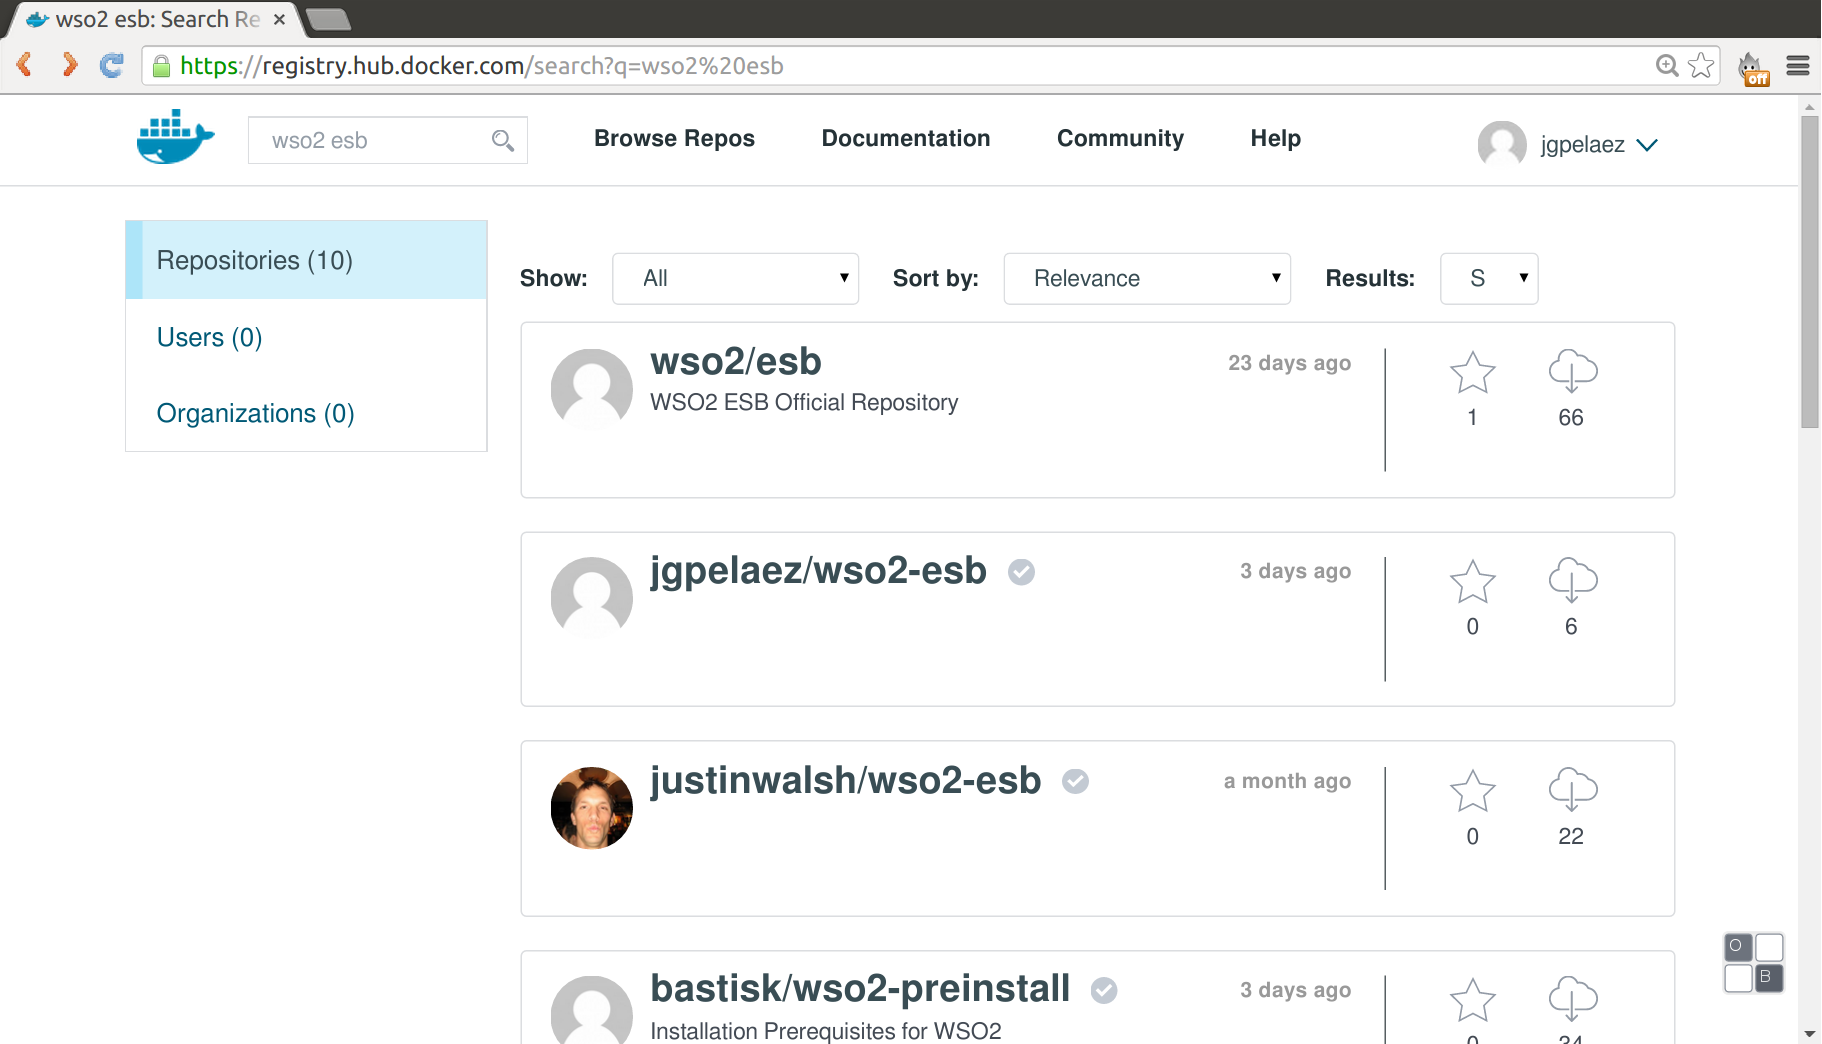
If you use an image uploaded by another user is recommended to use the marked with “automatic building”. In these images we can see how it has been created with the Dockerfile, if the image has been uploaded directly by a user whe should not trust it, because the image can contain malicious software.
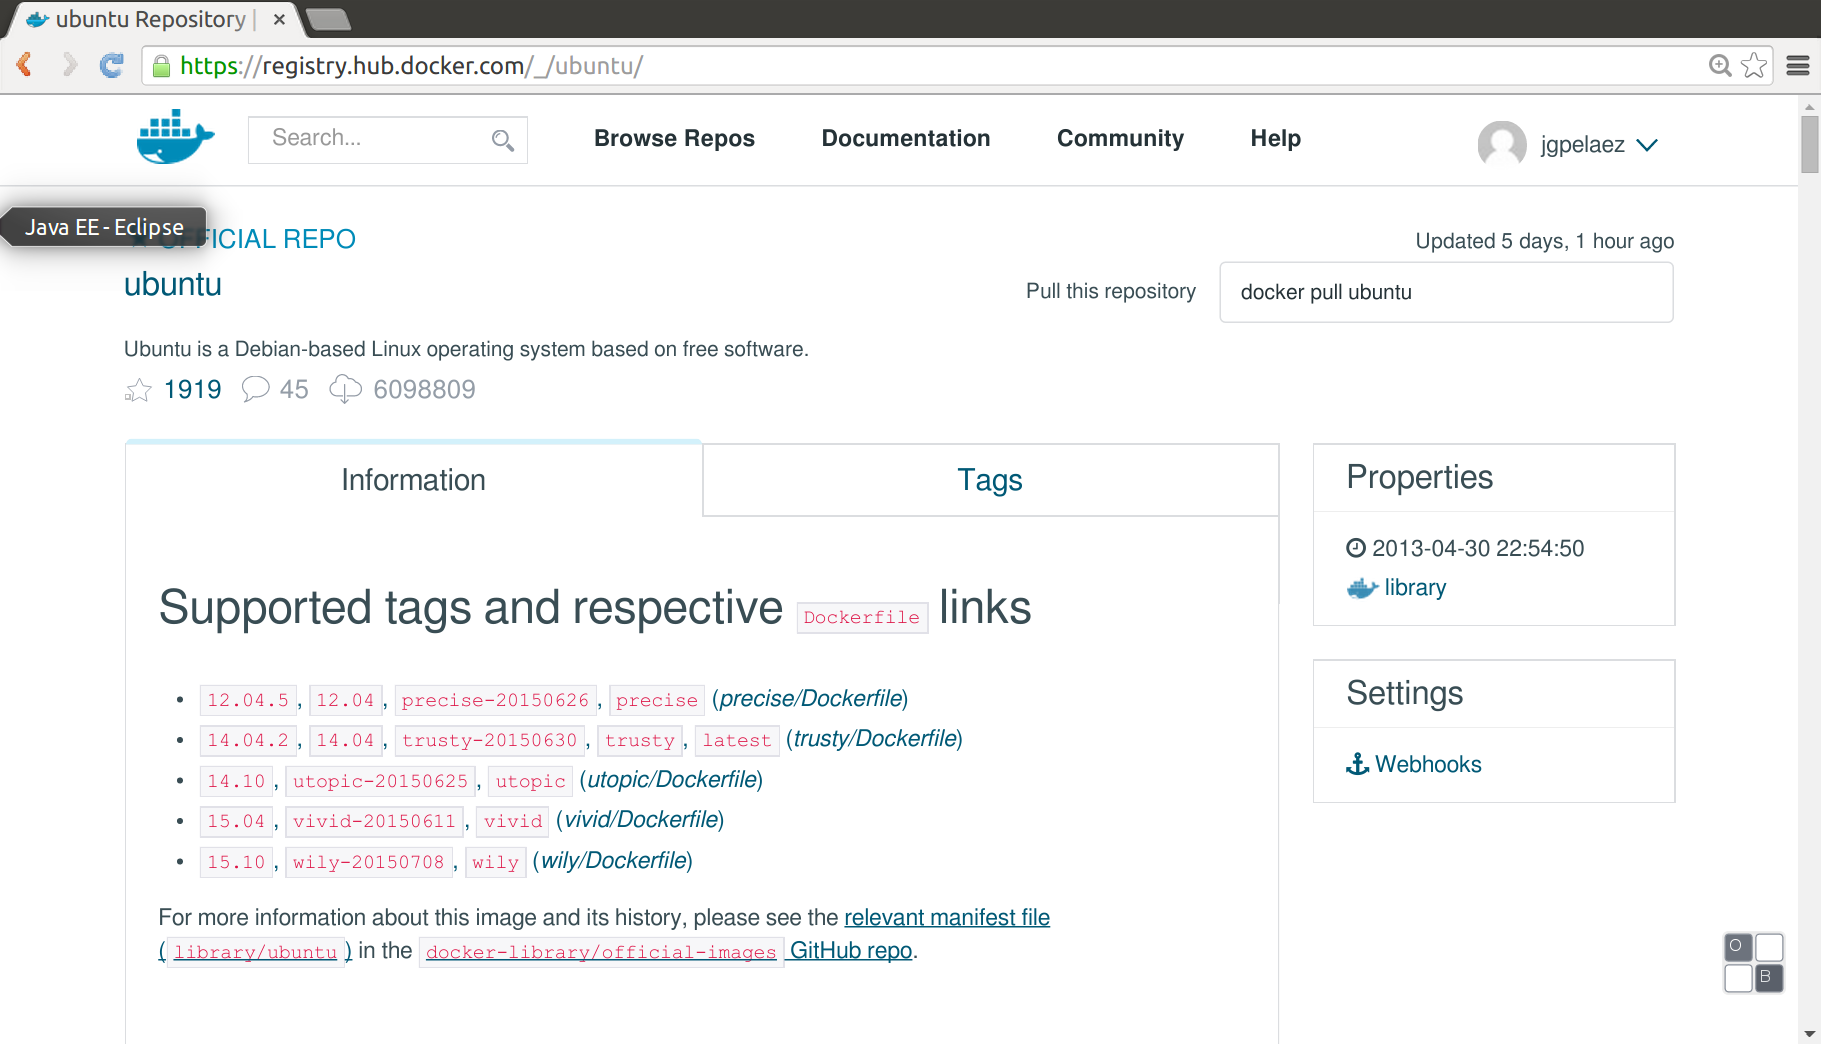
For the use in production of Docker it is recommended to write our own images, as the images of the registry can be deleted by the user. It is also recommended to use images marked as official, these have been developed either by the vendor, by the Docker team, or by popular users in the docker registry.
In this post we will explain how to upload images of WSO2 in the Docker regitry.
Creating images in the public registry of Docker
First we create a public repository on github or bitbucket or fork an existing one.
In this repository we add the Dockerfile:
FROM java:openjdk-7

MAINTAINER juancarlosgpelaez@gmail.com

ENV WSO2_URL=https://s3-us-west-2.amazonaws.com/wso2-stratos
ENV WSO2_SOFT_VER=4.8.1
RUN  \
    mkdir -p /opt && \
    wget -P /opt $WSO2_URL/wso2esb-$WSO2_SOFT_VER.zip && \
    unzip /opt/wso2esb-$WSO2_SOFT_VER.zip -d /opt && \
    rm /opt/wso2esb-$WSO2_SOFT_VER.zip

# ESB https port
EXPOSE 9443
# ESB http pass-through transport port
EXPOSE 8280
# ESB https pass-through transport port
EXPOSE 8243

ENV JAVA_HOME=/usr
CMD ["/opt/wso2esb-4.8.1/bin/wso2server.sh"]
Create a user in the docker registry
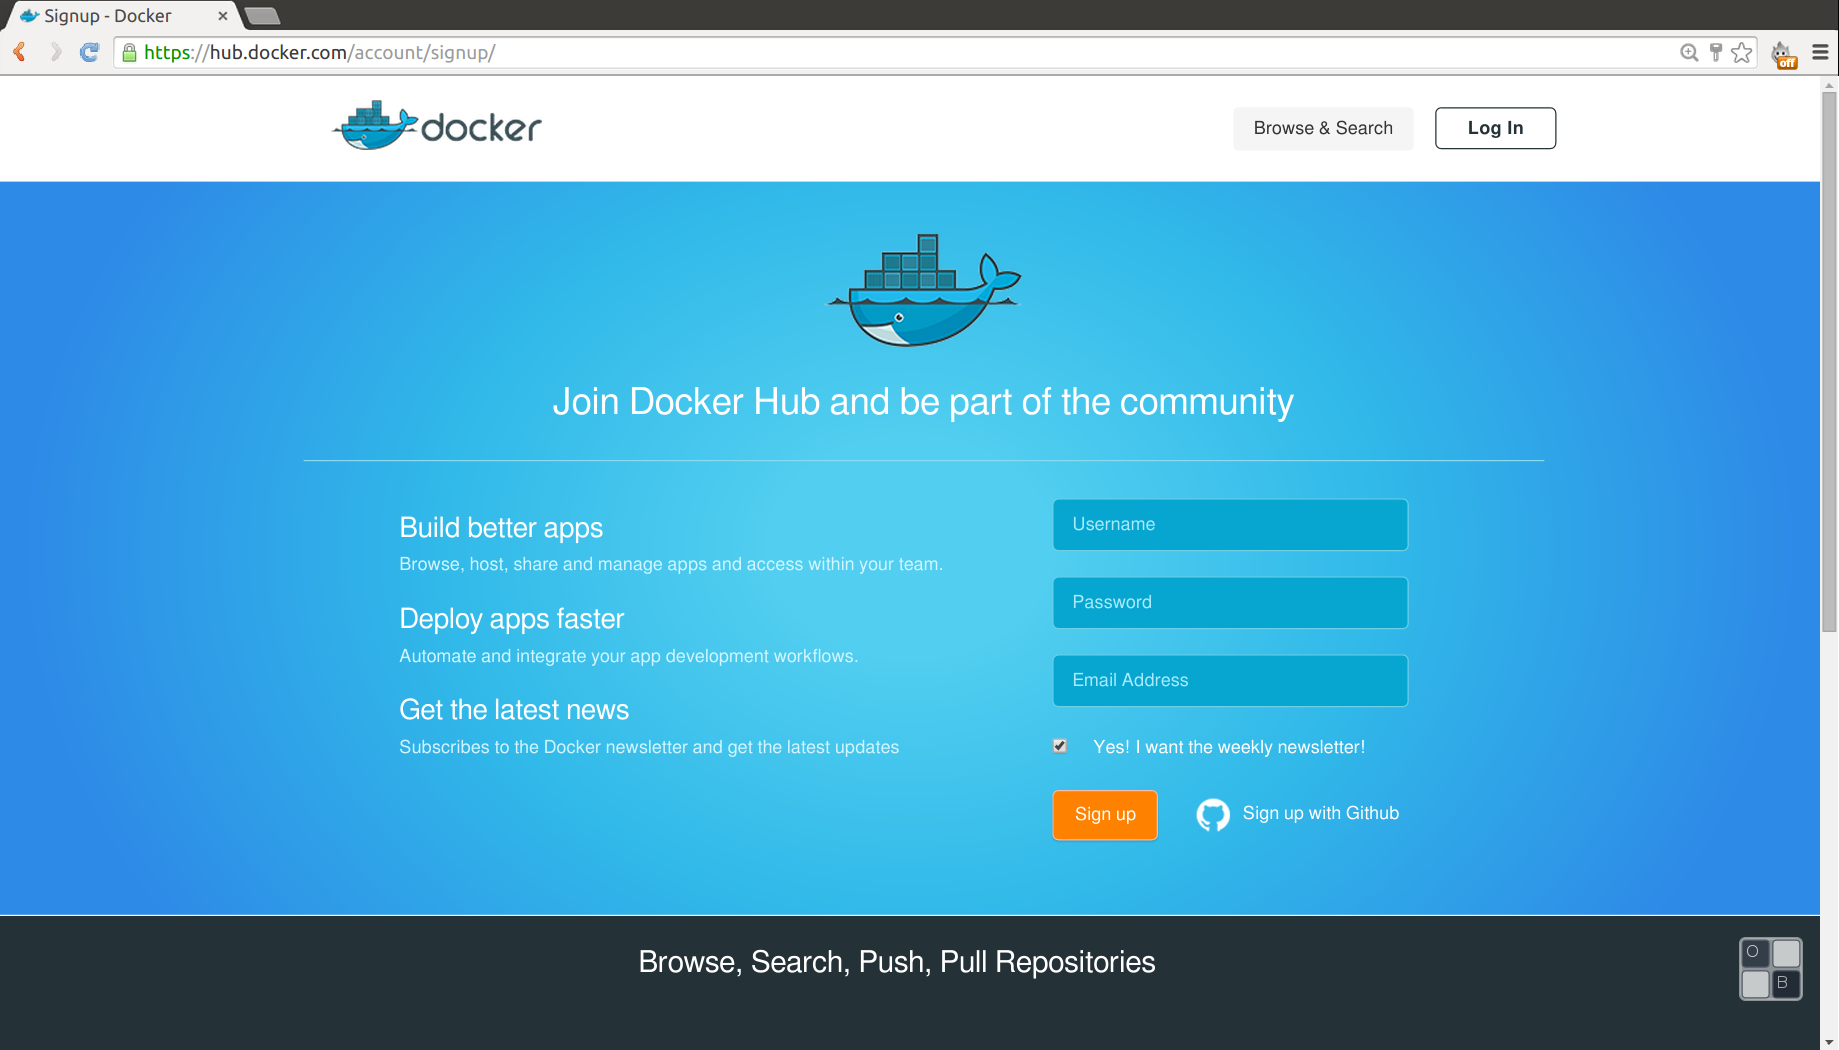
We can use our GitHub user for registration.
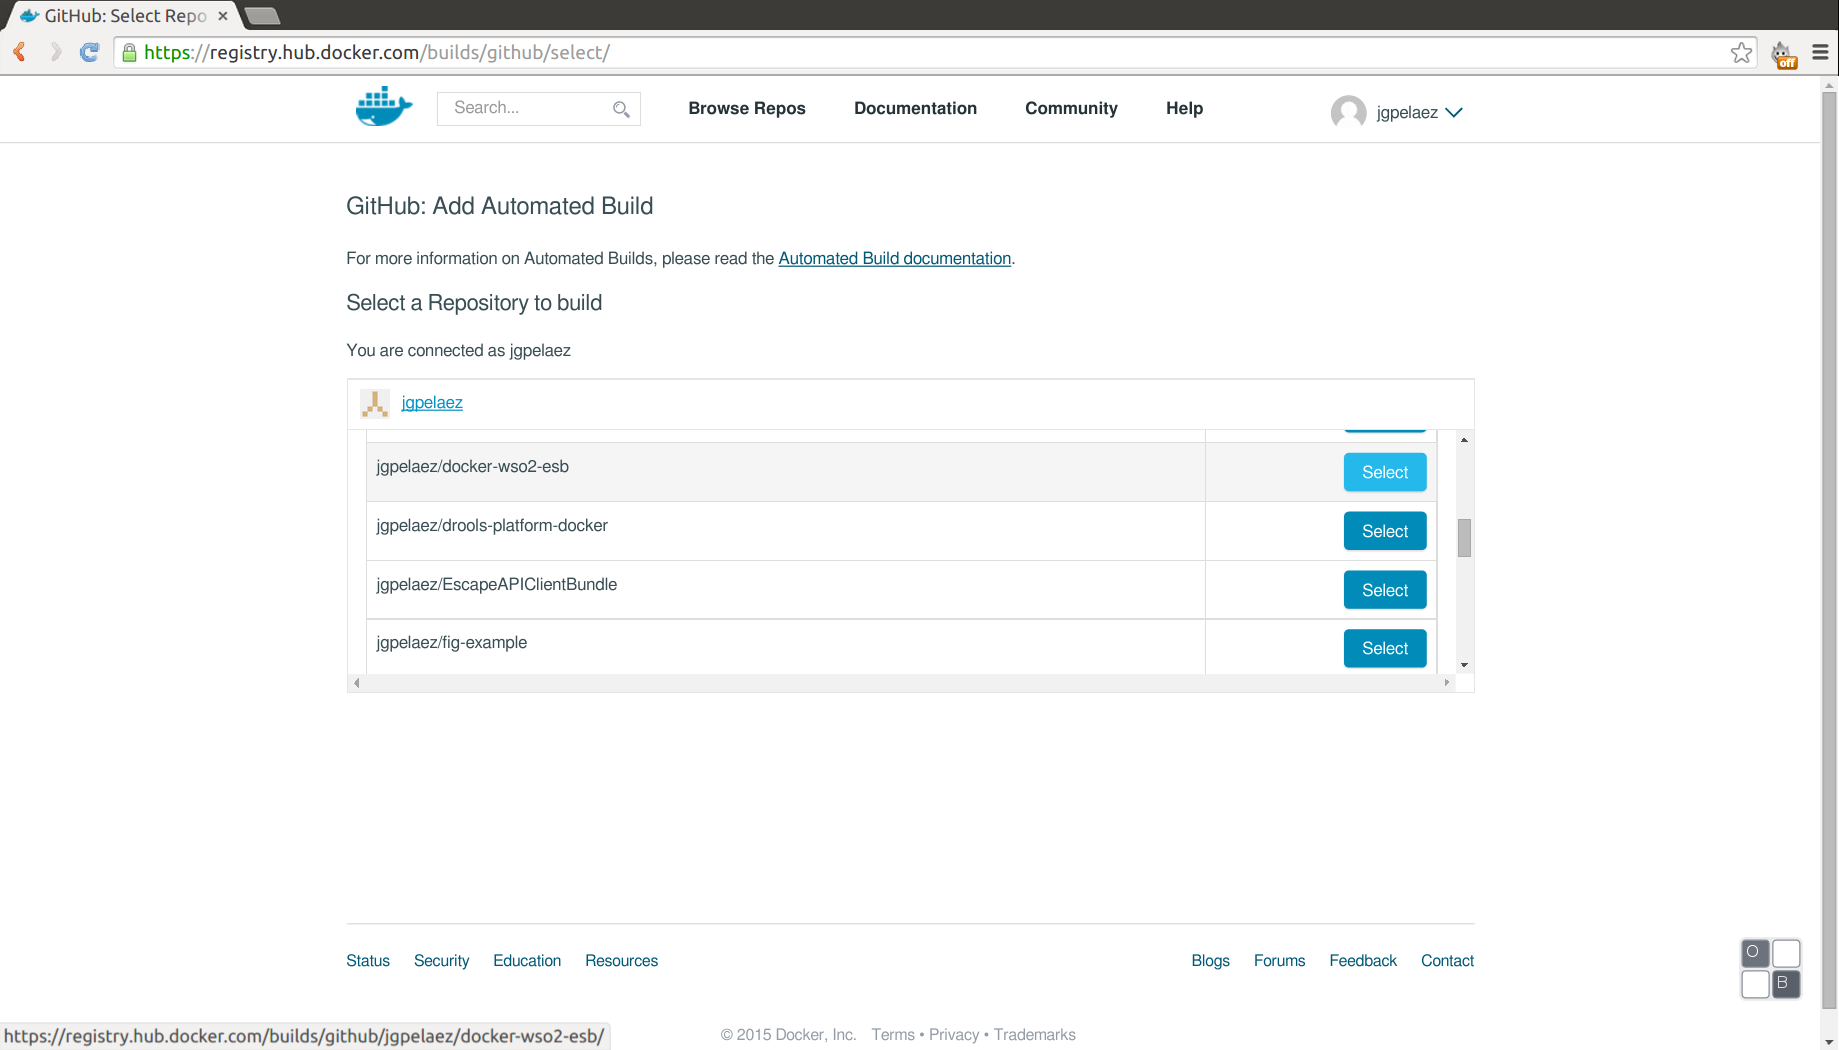
Once we have our account we can create a new repository with automatic build, the registry will read our Dockerfile and automatically perform the build:
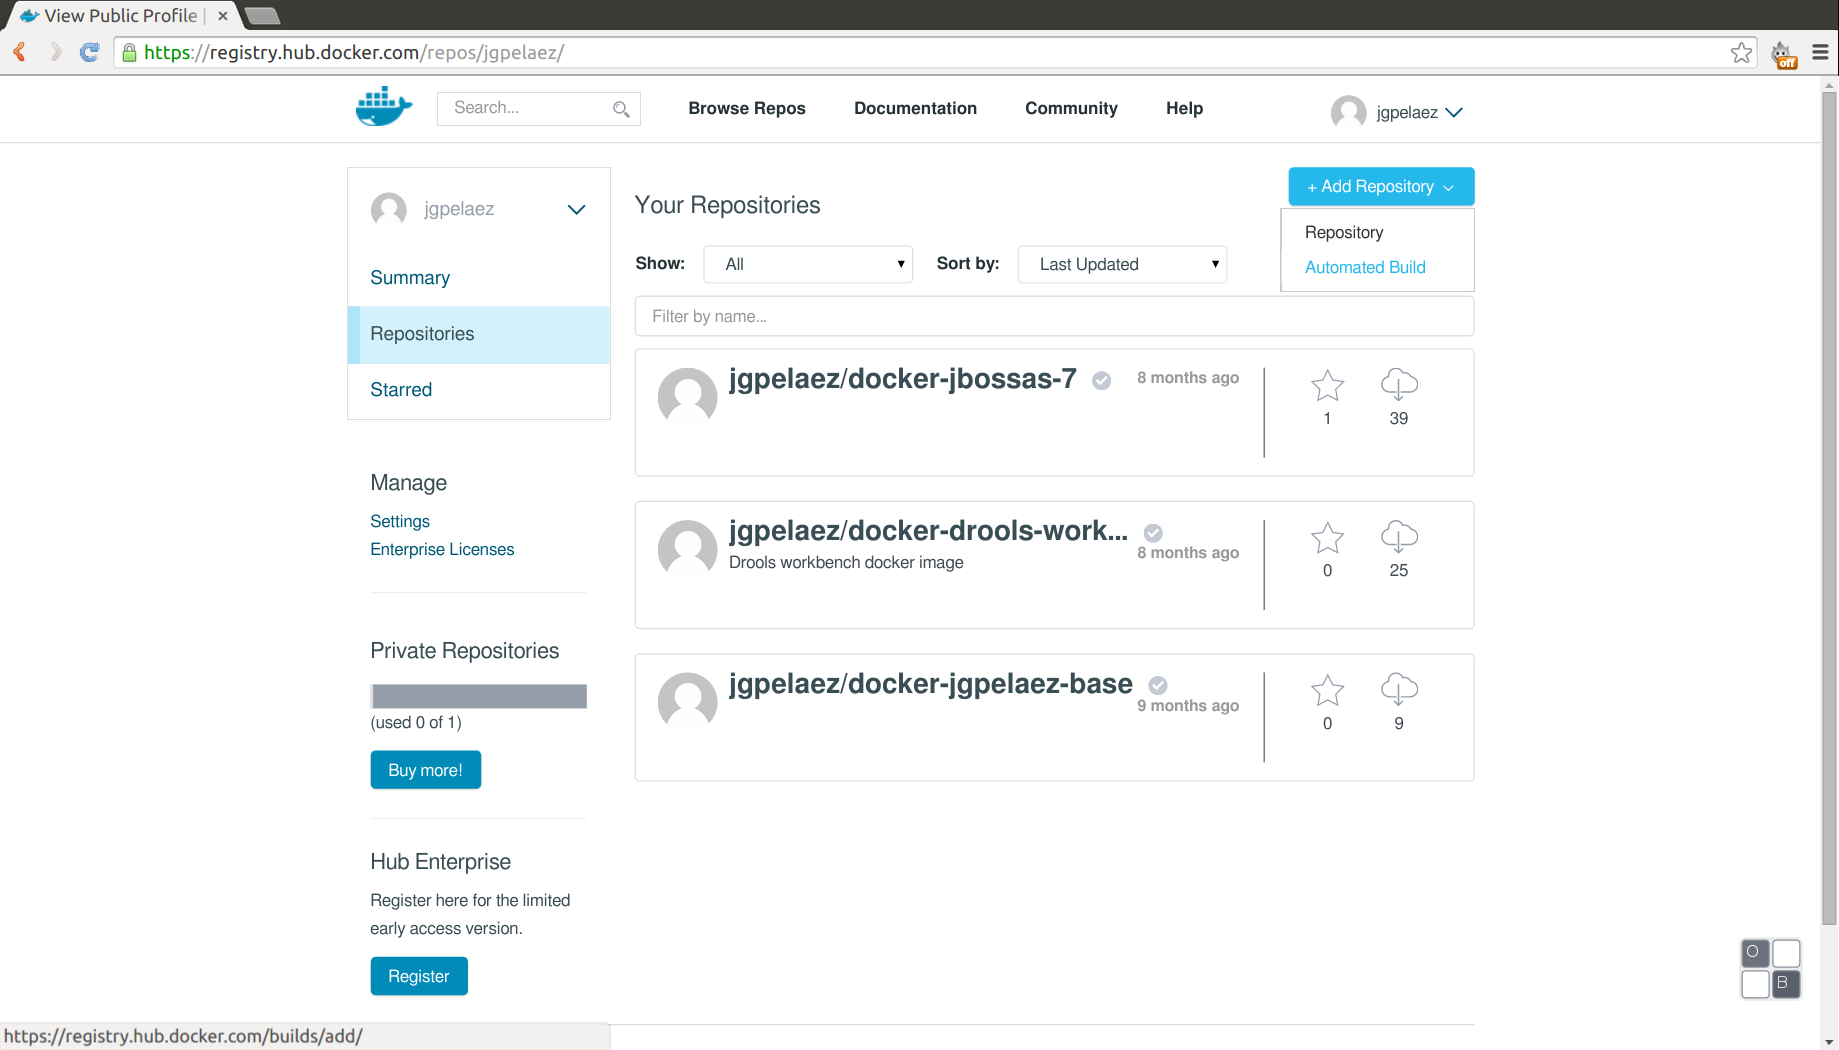
It is possible to chose our bitbucket account or github:

And select the repository where the Dockerfile is:
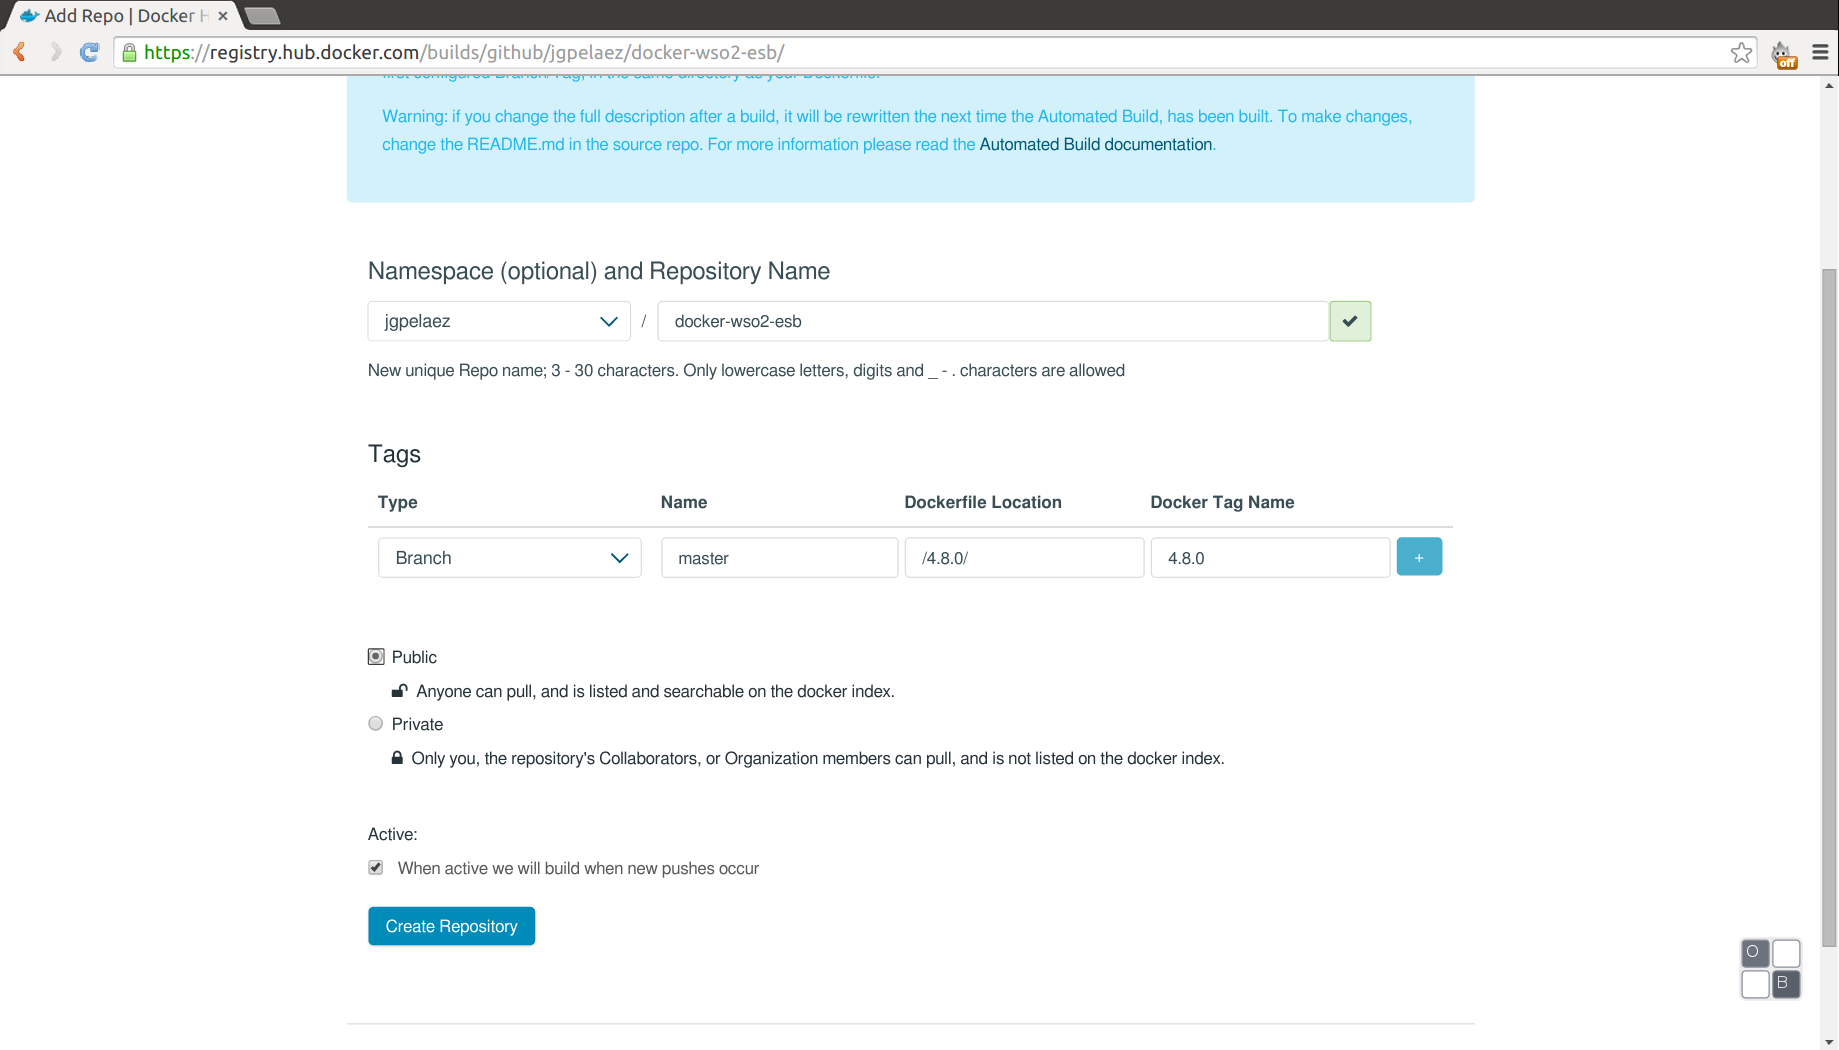
We can select the path of the Dockerfile. In this case will add several Dockerfile for different versions of the WSO2 ESB. We can also change the name of the repository, the convention used for the git repository is docker-[vendor]-[app] and for the registry [vendor]-[app].
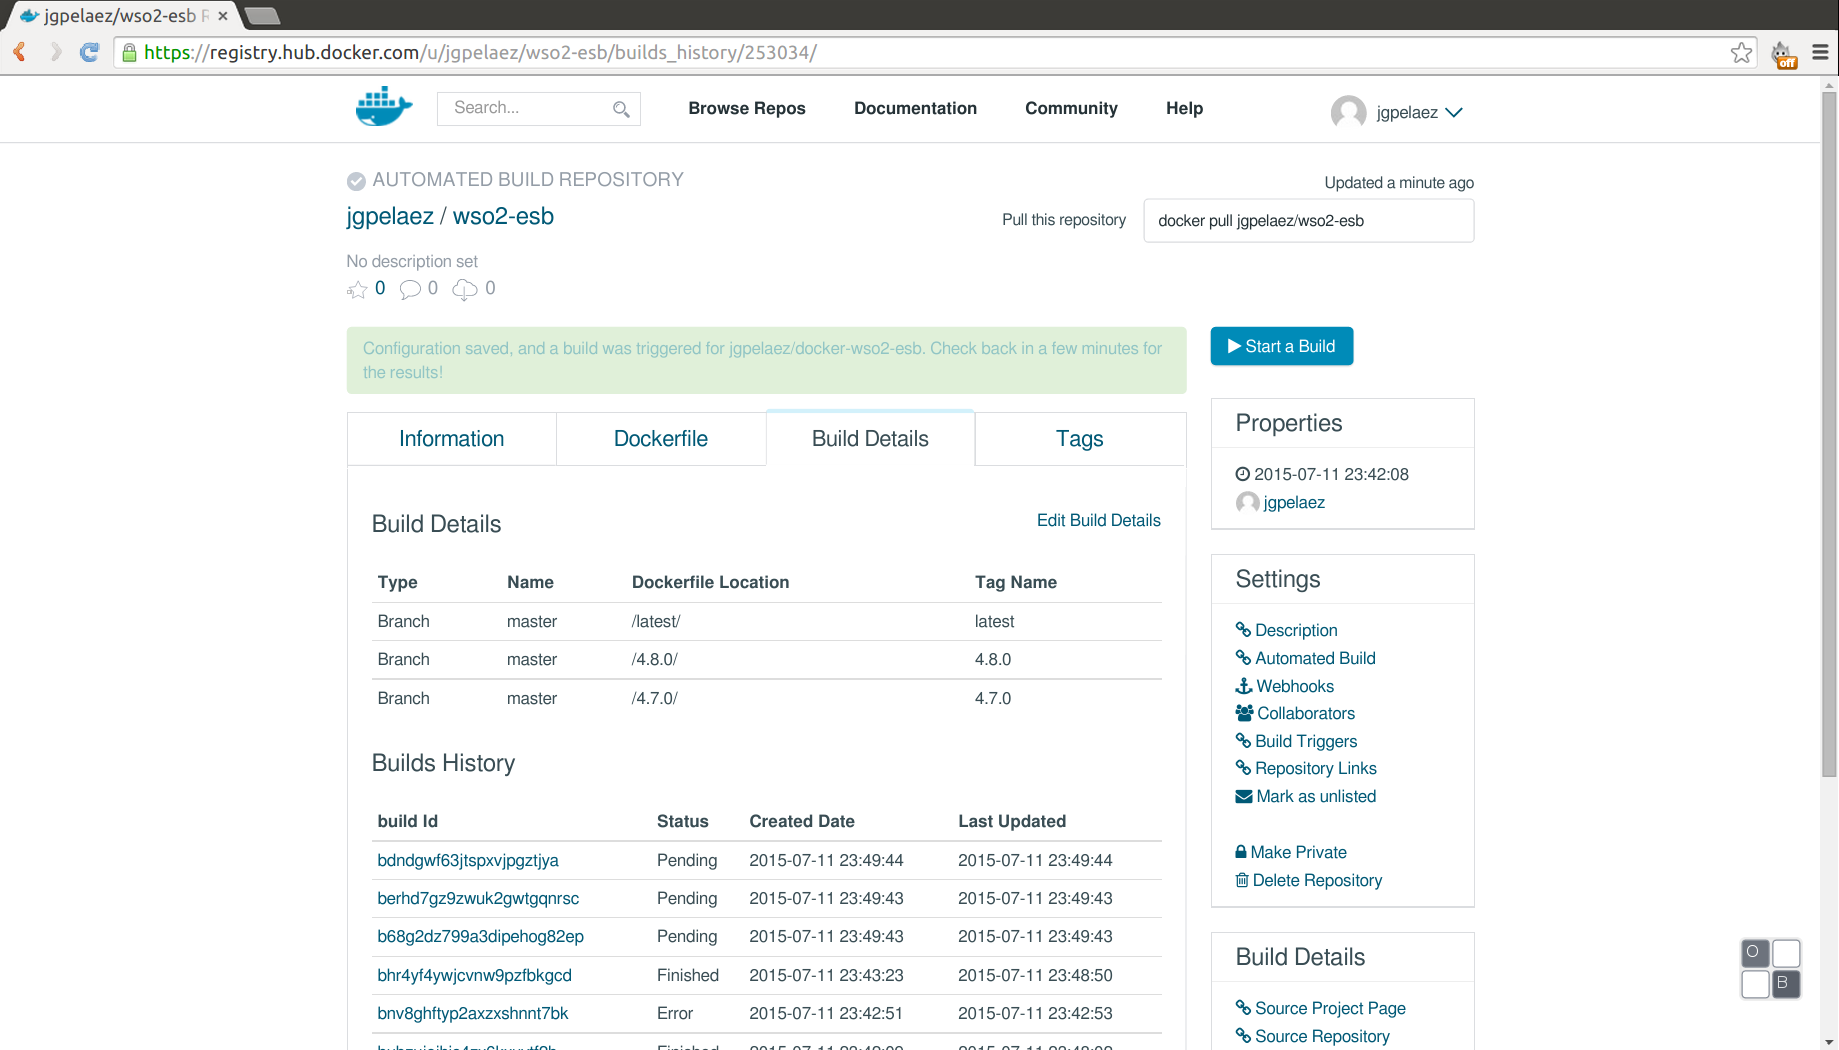
The build can be executed manually, but normally will not be necessary, as when we change a file in our repository for git, the docker build runs automatically.
Using the public Docker registry
Once the images have bee created or we want to test a new image uploaded by another user we can do it with the run command, for example:
docker run -p 19443:9443 jgpelaez/wso2-esb
This command runs an instance indicating the image name (jgpelaez/wso2-esb), the container port 9443 will be exposed to the host on port 19443 and the tag used will’latest’. To see more execution parameters we can execute the command ‘docker –help’.
In this case we see the WSO2 ESB management console with the URL in your browser:
https://localhost:19443/carbon/admin/login.jsp
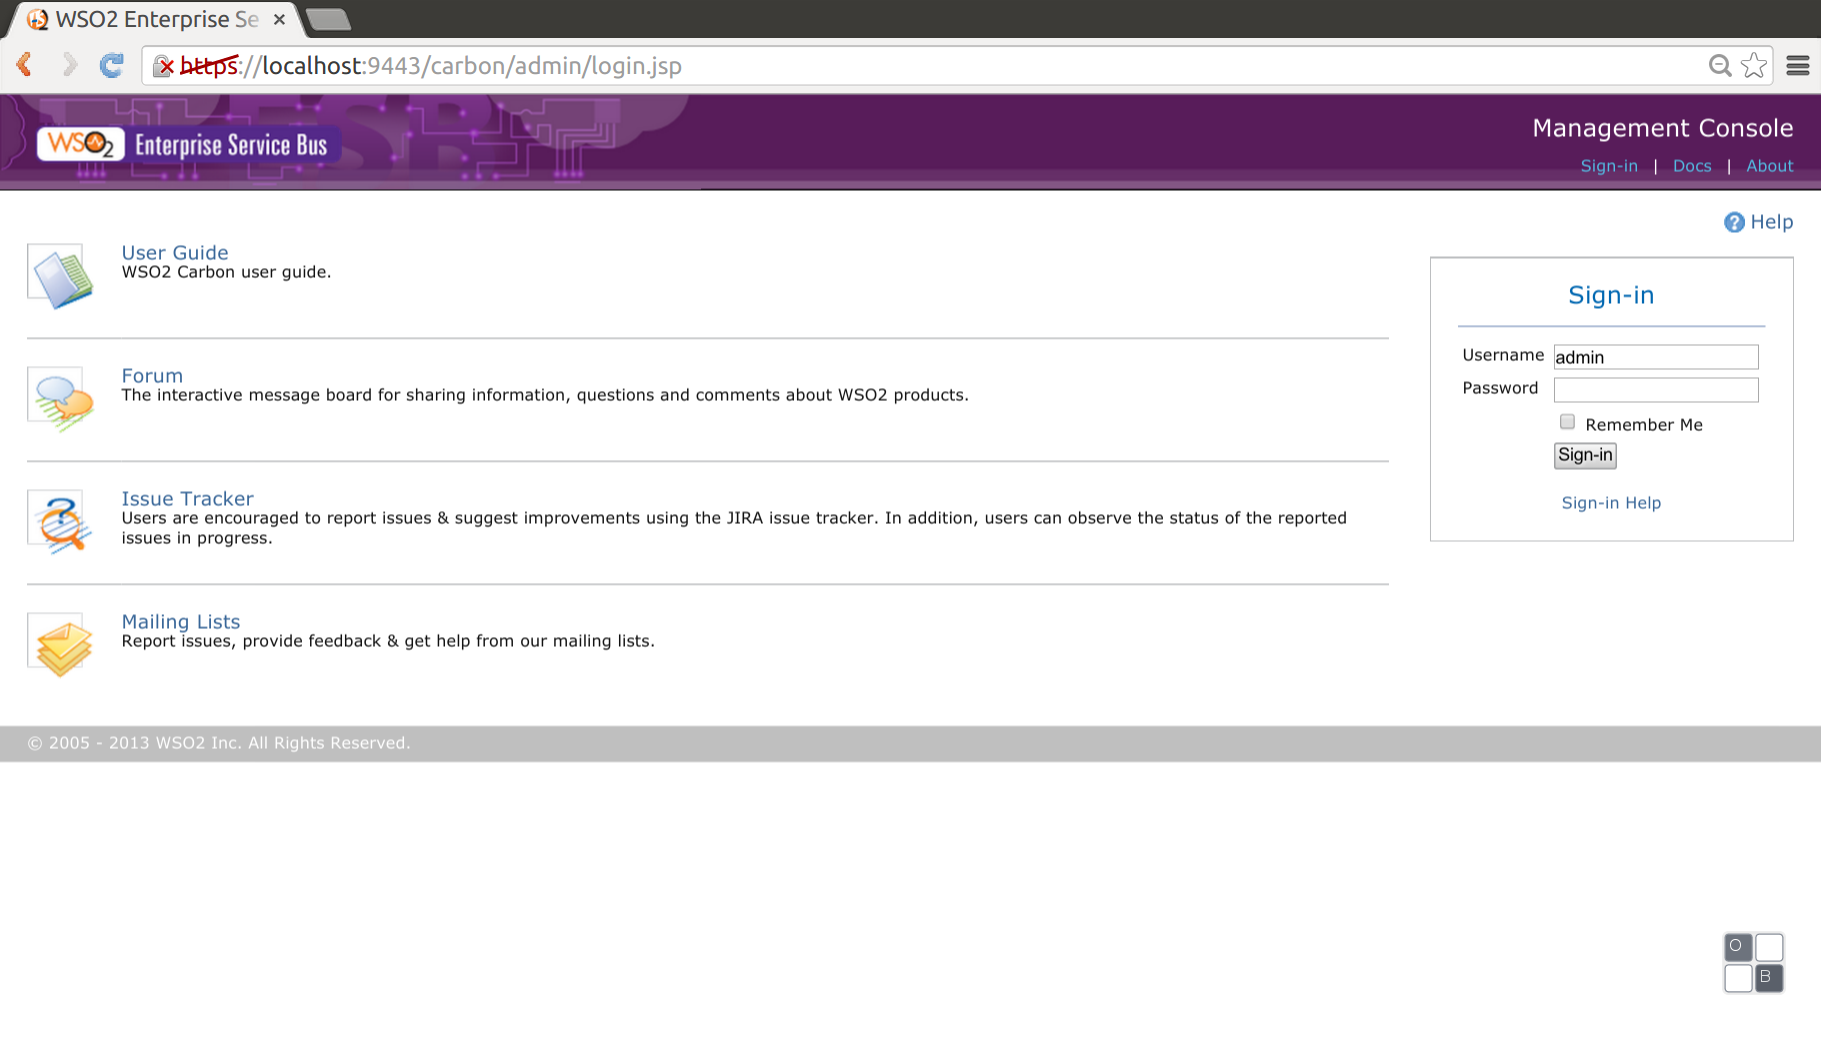
The host to set in the url depends on the operating system in which docker is executed. If it has natively docker (ubuntu, redhat, etc) will be localhost, if it’s use boot2docker (Windows / Mac), will be the IP of the virtual machine created by boot2docker (by defect usually 192.168.59.103).
Among other options we could try the wso2 samples with the command:
docker run -p 19443:9443 jgpelaez/wso2-esb/opt/wso2esb-4.8.1/bin/wso2esb-samples.sh -sn [sample number]
A great advantage provided by using docker is to run different instances of the same image in the same machine,s modifying the port, always using one available, or with the ’-P’ argument to automatically assign an available port. It’s possible to see the running containers with the instruction:
docker ps
CONTAINER ID        IMAGE               COMMAND                CREATED             STATUS              PORTS                                        NAMES
dbfa29da863f        jgpelaez/wso2-esb   "/opt/wso2esb-4.8.1/  44 minutes ago      Up 44 minutes       8243/tcp, 8280/tcp, 0.0.0.0:9443->9443/tcp   happy_goodall
Conclusion
The use of Linux containers (in this case Docker) and an the a image registry can help us a lot to get isolated and repeatable environments. Docker registry or a private registry will help us in development for all team members to work with the same configuration. From a DevOps perspective, if we use Docker images for development, test and production with a registry, we test in a very similar environment in all phases of project / product, and will minify configuration errors that could reach production.
Resources
- Source code in github/jgpelaez.
- Image of the WSO2 ESB Docker repository
Thanks / Contributions
- You can contribute to the Docker registry: https://github.com/jgpelaez/docker-wso2-esb creating “pull requests”
- If it seems useful code you can favourite it in: GitHub Docker Registry
comments powered by Disqus